evinrude tilt trim manual release valve
Evinrude Tilt and Trim Manual Release Valve: A Comprehensive Guide
This guide details the Evinrude tilt and trim system‚ focusing on the manual release valve’s function‚ troubleshooting‚ repair‚ and preventative maintenance for optimal performance.
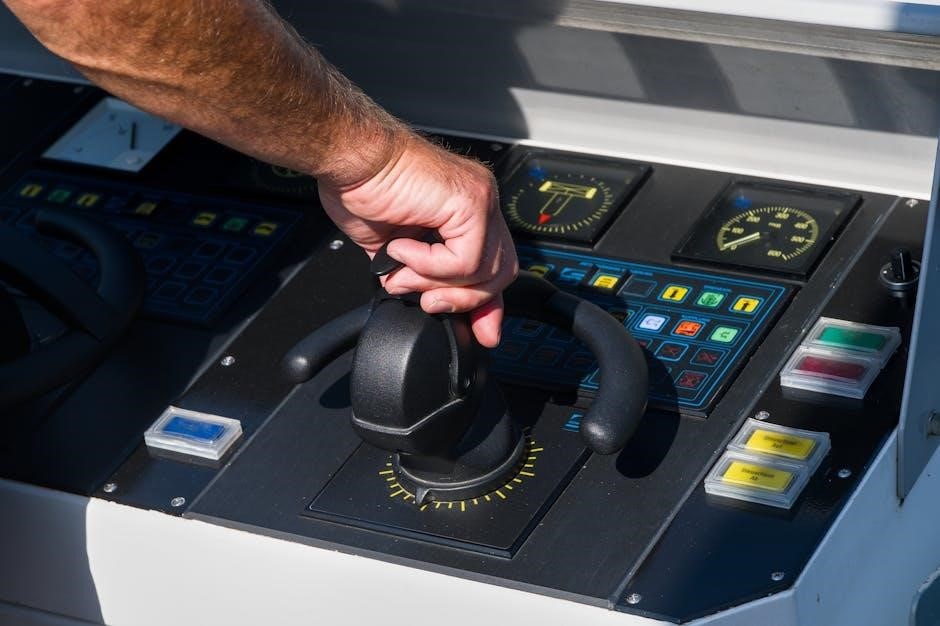
Understanding the Tilt and Trim System
The Evinrude tilt and trim system is a crucial component for boat operation‚ allowing for adjustments to the outboard motor’s angle. This impacts performance‚ handling‚ and safety‚ especially in varying water conditions. The system utilizes hydraulic fluid pressure to raise and lower the motor. A robust hydraulic system ensures smooth and controlled movement‚ vital for navigating shallow waters or achieving optimal speed;
Key components include the hydraulic pump‚ tilt trim unit‚ hydraulic lines‚ and the manual release valve. The pump generates pressure‚ transferring it through the lines to the tilt trim unit‚ which physically moves the motor. The manual release valve serves as a critical safety feature‚ enabling manual lowering of the motor if hydraulic pressure is lost. Understanding how these parts interact is fundamental for effective maintenance and troubleshooting. Proper functionality ensures a safe and enjoyable boating experience.
Regular inspection and maintenance of this system are paramount to prevent unexpected failures and costly repairs.
The Role of the Manual Release Valve
The manual release valve on an Evinrude outboard is a vital safety mechanism designed to allow for controlled lowering of the motor when the primary hydraulic system fails. This prevents a potentially dangerous situation where the motor remains stuck in a raised position‚ hindering steering and maneuverability. It bypasses the hydraulic pump‚ directly releasing pressure from the tilt trim unit.
Essentially‚ it’s an emergency override. Should the hydraulic lines become blocked‚ the pump malfunction‚ or the hydraulic fluid level drop critically low‚ the manual release valve provides a means to return the motor to a usable position. This is particularly important in situations where immediate control is needed‚ such as near docks or in rough seas.
Proper operation of this valve is crucial‚ and boaters should familiarize themselves with its location and function as part of routine pre-departure checks. Ignoring a faulty valve can lead to significant operational issues.
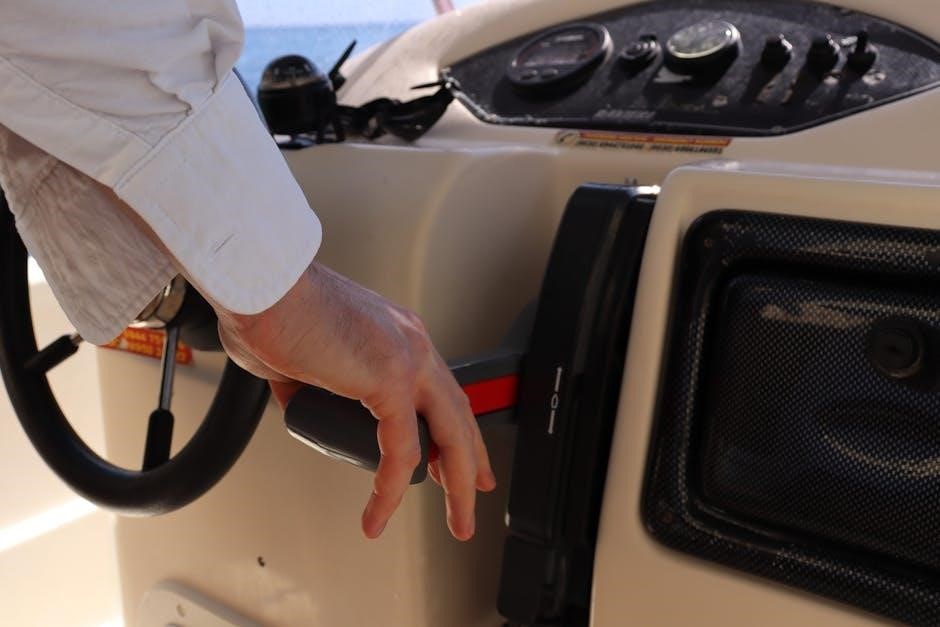
Identifying the Location of the Release Valve
Locating the manual release valve on an Evinrude outboard can vary slightly depending on the model year and engine size‚ but it’s generally found near the tilt trim unit itself. Typically‚ it’s positioned on the port side of the engine‚ often on the lower unit housing or the upper mounting bracket.
Visually‚ the valve usually presents as a small‚ often red or yellow‚ knob or lever. It may be protected by a plastic cap to prevent accidental activation. The valve is connected to a hydraulic line leading to the tilt trim ram. Look for a valve with a clearly marked “Release” or similar indication.
Consulting your Evinrude outboard’s specific owner’s manual is the most reliable way to pinpoint the exact location. Diagrams within the manual will illustrate the valve’s position relative to other engine components. Familiarizing yourself with its location before an emergency is paramount for safe operation.
Common Symptoms of a Faulty Release Valve
A malfunctioning manual release valve on your Evinrude tilt and trim system manifests in several ways. The most obvious is the inability to raise or lower the outboard using the electric trim switch; the motor may remain stuck in one position.
Another key symptom is the outboard slowly drifting downwards even when the trim switch is in the “up” position. This indicates a leak within the system‚ potentially originating at the valve itself. A noticeable hydraulic fluid leak near the valve is a strong indicator of a problem.
Difficulty maintaining the desired trim angle during operation is also a sign. Furthermore‚ excessive noise from the tilt trim unit‚ like hissing or groaning‚ can suggest internal pressure loss due to a faulty release valve. Ignoring these symptoms can lead to further damage and costly repairs.
Safety Precautions Before Working on the System
Prioritizing safety is crucial when working on the Evinrude tilt and trim system. Always disconnect the battery’s negative terminal to prevent accidental activation of the trim motor during repairs. Secure the outboard motor in a raised position using a prop wrench or suitable support to prevent it from falling.
Hydraulic fluid is under pressure; relieve this pressure before disconnecting any lines. Wear safety glasses and gloves to protect your eyes and skin from fluid exposure‚ as it can cause irritation. Work in a well-ventilated area‚ as hydraulic fluid fumes can be harmful.
Be mindful of sharp edges on the outboard and surrounding components. Have a fire extinguisher readily available‚ and avoid smoking or open flames near hydraulic fluid. If you are uncomfortable performing any of these tasks‚ consult a qualified marine mechanic.
Troubleshooting the Manual Release Valve
Effective troubleshooting involves testing valve function‚ inspecting for blockages and damage‚ and diagnosing hydraulic leaks related to the release valve itself.

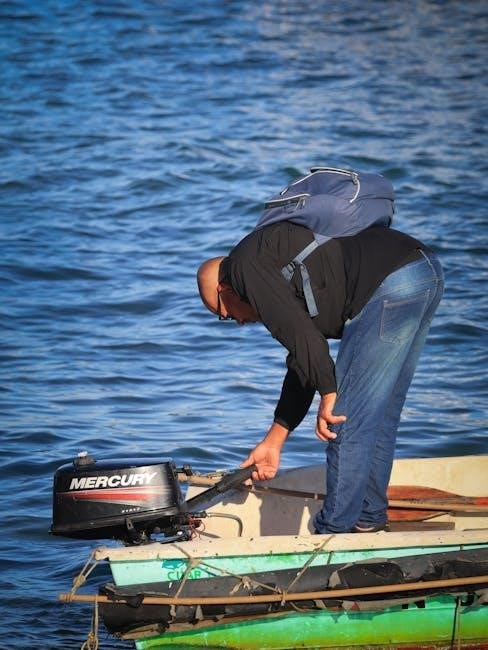
Testing the Valve for Proper Function
Begin by visually inspecting the manual release valve for any obvious signs of damage‚ such as cracks or corrosion. With the engine off‚ attempt to manually tilt the outboard. The valve should release smoothly‚ allowing the engine to be raised or lowered with reasonable effort.
If the engine remains locked in place‚ or if excessive force is required to operate the tilt and trim‚ the valve may be malfunctioning. Carefully observe the valve while activating the tilt and trim system. Look for any signs of leakage around the valve body or connections.
A properly functioning valve will allow for controlled movement of the outboard. If the valve feels sticky or unresponsive‚ it may require cleaning or replacement. Remember to always prioritize safety and disconnect the battery before performing any tests or repairs on the tilt and trim system. A hydraulic pressure test can also confirm valve operation.
Checking for Blockages in the Valve and Lines
Begin by disconnecting the hydraulic lines connected to the manual release valve. Carefully inspect the line fittings for any debris or corrosion that could restrict fluid flow. Use compressed air‚ at a low pressure‚ to blow through each line‚ checking for obstructions. Be cautious and wear eye protection during this process.
Next‚ examine the valve itself. Disassemble the valve body‚ if possible‚ and inspect the internal components for sediment or buildup. Clean all parts thoroughly with a suitable solvent‚ ensuring that all ports and passages are clear. Pay close attention to any small orifices or filters within the valve.
A blockage in the valve or lines can prevent the tilt and trim system from operating correctly. Regularly flushing the hydraulic system can help prevent blockages from forming. Reassemble the valve and reconnect the lines‚ ensuring all connections are secure before testing the system.
Inspecting the Valve for Physical Damage
A thorough visual inspection is crucial when assessing the manual release valve. Look for any cracks‚ corrosion‚ or deformation in the valve body and its surrounding components. Carefully examine the valve’s exterior for signs of impact damage or wear. Pay close attention to the threads on the fittings‚ ensuring they are not stripped or damaged.
Check the valve’s internal parts‚ if accessible‚ for signs of wear or breakage. Inspect the seals and O-rings for cracks‚ tears‚ or loss of elasticity. A damaged seal can lead to hydraulic fluid leaks and reduced system performance. Feel for any roughness or play in the valve’s moving parts‚ which could indicate internal wear.
Any physical damage discovered during the inspection may necessitate valve replacement. Ignoring damage can lead to further complications and potential failure of the entire tilt and trim system. Document any findings with photographs for future reference.
Diagnosing Hydraulic Fluid Leaks Related to the Valve
Hydraulic fluid leaks near the manual release valve often indicate a problem with the valve itself‚ its connections‚ or the surrounding hydraulic lines. Begin by carefully inspecting the valve body‚ fittings‚ and hose connections for visible signs of leakage. Use a clean rag to wipe the area and pinpoint the exact source of the leak.
Check the hydraulic lines connected to the valve for cracks‚ kinks‚ or loose connections. A leak in a line can mimic a valve leak. Observe the fluid level in the hydraulic reservoir; consistently low levels confirm a leak somewhere in the system. Note the color and consistency of the fluid – contamination can exacerbate leaks.
Pressure testing the system can help isolate the leak. If the leak stops when the valve is activated‚ the valve is likely the source. Address leaks promptly to prevent further damage and maintain optimal tilt and trim function. Ignoring leaks can lead to corrosion and component failure.
Repair and Replacement Procedures
This section outlines the necessary tools and provides a detailed‚ step-by-step guide for safely replacing the release valve‚ including bleeding the hydraulic system afterward.
Tools Required for Valve Repair/Replacement
Successfully repairing or replacing your Evinrude outboard’s tilt and trim manual release valve demands having the correct tools readily available; A basic set of wrenches‚ both open-end and socket‚ in both standard and metric sizes‚ is crucial for disconnecting hydraulic lines and securing the new valve.
You’ll also need a flare nut wrench set to prevent rounding off the hydraulic line fittings – a common issue when using standard wrenches. A set of screwdrivers (Phillips and flathead) will be necessary for removing any mounting brackets or covers.
Essential for hydraulic work is a hydraulic fluid drain pan to catch any spilled fluid‚ and appropriate safety glasses and gloves to protect yourself. A torque wrench is vital for tightening fittings to the manufacturer’s specifications‚ preventing leaks or damage.
Finally‚ consider having a parts cleaning brush and solvent on hand for cleaning components‚ and a shop rag for general cleanup. Depending on the extent of the repair‚ a hydraulic hose removal tool might also prove beneficial.
Step-by-Step Guide to Replacing the Release Valve
Begin by disconnecting the negative battery cable for safety. Locate the manual release valve and carefully disconnect the hydraulic lines‚ capturing any escaping fluid with a drain pan. Note the orientation of the valve before removal for correct reinstallation.
Remove any mounting hardware securing the valve to the outboard. Clean the mounting surface thoroughly. Install the new release valve‚ ensuring proper alignment and tightening the mounting hardware to the manufacturer’s specified torque;
Reconnect the hydraulic lines‚ again ensuring they are properly tightened using a flare nut wrench to avoid damage. Double-check all connections for leaks. Before fully reassembling‚ manually operate the tilt and trim to confirm smooth movement.
Reconnect the battery cable. Proceed to bleed the hydraulic system (detailed in the next section) to remove any air introduced during the replacement process. Finally‚ test the tilt and trim function several times to verify proper operation.
Bleeding the Hydraulic System After Replacement
After replacing the manual release valve‚ bleeding the system is crucial. Start the engine and cycle the tilt and trim several times‚ observing for air bubbles in the hydraulic fluid reservoir. If bubbles appear‚ shut off the engine.
Locate the bleed screw on the tilt and trim unit – typically near the hydraulic cylinder. Loosen the bleed screw slightly while operating the tilt and trim. Continue until only fluid‚ without air bubbles‚ exits the bleed screw. Tighten the bleed screw securely.
Repeat this process for each tilt and trim unit if applicable. Regularly check the fluid level in the reservoir during bleeding‚ adding fluid as needed to prevent air from being drawn back into the system. Ensure you use the recommended hydraulic fluid type for your Evinrude outboard.
Finally‚ re-check for leaks around all connections and the bleed screws. Cycle the tilt and trim multiple times to confirm smooth‚ bubble-free operation.
Recommended Hydraulic Fluid Types for Evinrude Outboards
Selecting the correct hydraulic fluid is vital for Evinrude tilt and trim systems. Using the wrong fluid can cause corrosion‚ seal damage‚ and performance issues‚ potentially leading to premature failure of the manual release valve and other components.
Evinrude generally recommends using a high-quality‚ ISO 46 hydraulic fluid specifically formulated for marine applications. Evinrude’s own branded hydraulic fluid is often the best choice‚ ensuring compatibility and optimal performance. However‚ equivalent fluids meeting the ISO 46 specification from reputable manufacturers are also acceptable.
Avoid using automotive brake fluid‚ as it’s incompatible with the marine hydraulic system and will cause significant damage. Synthetic hydraulic fluids can offer improved performance in extreme temperatures‚ but always verify compatibility with your specific Evinrude model. Regular fluid changes‚ as per the maintenance schedule‚ are crucial for longevity.

Preventative Maintenance and Long-Term Care
Regular inspections and proper storage are key to maintaining the Evinrude tilt and trim system‚ preventing corrosion‚ and ensuring reliable manual release valve operation.
Regular Inspection Schedule for the Tilt and Trim System
Establishing a consistent inspection routine is crucial for the longevity and reliable operation of your Evinrude outboard’s tilt and trim system‚ particularly focusing on the manual release valve. A visual check should be performed before each use‚ looking for any obvious signs of hydraulic fluid leaks around the valve‚ lines‚ and the tilt/trim unit itself.
Monthly inspections should include a more thorough examination of the release valve for corrosion or physical damage. Gently operate the valve to ensure smooth movement and proper engagement/disengagement. Check the hydraulic lines for cracks‚ kinks‚ or abrasion.
Annually‚ a complete system check is recommended. This involves inspecting all connections for tightness‚ verifying hydraulic fluid levels‚ and assessing the overall condition of the pump and cylinder. Consider flushing and replacing the hydraulic fluid according to Evinrude’s recommendations to remove contaminants and maintain optimal performance. Documenting these inspections will help track potential issues and prevent costly repairs down the line.
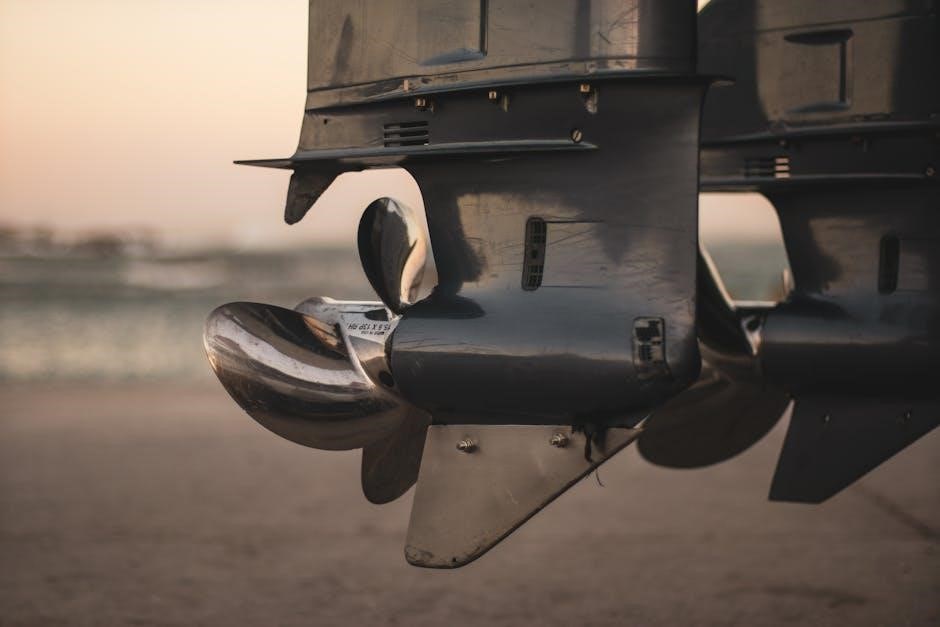
Proper Storage Procedures to Prevent Corrosion
Protecting your Evinrude tilt and trim system‚ including the manual release valve‚ from corrosion during storage is paramount‚ especially in marine environments. After the boating season‚ thoroughly flush the entire hydraulic system with the recommended Evinrude hydraulic fluid to remove saltwater and moisture.
Apply a corrosion inhibitor specifically designed for marine hydraulic systems to all exposed metal surfaces‚ including the release valve‚ lines‚ and connections. Ensure the outboard is tilted to a position that prevents water from pooling within the tilt/trim unit.
Cover the outboard with a waterproof and breathable cover to shield it from the elements. Store the outboard in a dry‚ well-ventilated area‚ away from direct sunlight and extreme temperatures. Periodically inspect the system during storage for any signs of corrosion or leaks‚ addressing them promptly to prevent further damage. Proper storage significantly extends the life of your tilt and trim components.
Addressing Common Issues Before They Escalate
Early detection is key to preventing major repairs with your Evinrude tilt and trim system‚ particularly concerning the manual release valve. Regularly monitor for sluggish operation‚ unusual noises during tilting/trimming‚ or difficulty achieving full range of motion.
Inspect the valve for any signs of external leakage or corrosion. A small drip can indicate a failing seal or damaged valve body. Address any stiffness in the valve’s operation immediately; forcing it can cause internal damage.
Pay attention to hydraulic fluid levels and color. Low fluid or a cloudy appearance suggests a leak or contamination. Ignoring these early warning signs can lead to complete system failure‚ requiring costly replacements. Proactive maintenance and prompt attention to minor issues will ensure reliable operation and extend the lifespan of your Evinrude’s tilt and trim.